0 Comments // Reading Time: 7 min.
What is TYPO3 and why should I use it?
TYPO3 is an Open Source Enterprise CMS (Content Management System) with a huge global Community and massive support from a lot of Companies and Individuals.
If you like to know more about TYPO3 and why it might be the right choice for you, you can check their Website TYPO3.org or read our article “Why TYPO3 still convinces in 2018?”.
In this article, we assume you have taken the steps for a basic LAMP Stack for TYPO3 on Ubuntu to set up your Server with the most basic Web server configuration.
Getting the TYPO3 sources
Before we can install TYPO3 we need to download the sources which we can do in several ways.
In this article, we will use the most manual way so that we know what happens and where we can find everything. We will also use the latest available LTS Release of TYPO3 which is at the time this article is written 8.7.19.
Let's download the latest TYPO3 LTS Release into the directory where we serve files from. Open a shell on your Server and switch to the Web server directory.
cd /var/wwwhere we download the TYPO3 sources with
sudo curl -L https://get.typo3.org/8 -o typo3_src.tar.gzthis will place an archive called typo3_src.tar.gz which we extract with
sudo tar xfz typo3_src.tar.gzthis will extract the TYPO3 sources into the /var/www/typo3_src-8.7.19 directory.
You might have noticed that we did not extract the files in the html folder where our Web server usually reads the files he has to serve from. This is because of a nice linking concept that we can use with TYPO3 which allows us further on easily update the TYPO3 source if there is a new patch without touching our installation files. But don't worry. It will be clear once we have set everything up properly.
Setting up the Links
After downloading the sources we need to set up Links to serve TYPO3 to the outside world.
For this, we change into our html folder
cd /var/www/htmland create some Links
sudo ln -s ../typo3_src-8.7.19 typo3_src
sudo ln -s typo3_src/index.php index.php
sudo ln -s typo3_src/typo3 typo3
this will link the TYPO3 sources in a way that the Apache Server can find and serve them to the Browser.
(alternative way) Using Composer to get sources
If you plan to use composer in your project you can also use it to get the TYPO3 sources.
In your /var/www folder simply use
sudo composer create-project typo3/cms-base-distribution typo3_srcto create a fresh TYPO3 base that you can update or extend via composer. Be aware that if you use this method you have to adapt the links you need to create. You’ll find this index.php and the folders typo3 and typo3_src in the public directory of the folder that was created during the composer run.
Getting stuck during the TYPO3 install? Instructions unclear?
Installing Dependencies and configure PHP
Before we can see anything TYPO3 related in our Browser we need to remove the default Apache index site.
Simply do a
sudo rm index.htmland then call your Website in your Browser. You should now be greeted with a TYPO3 page

This isn't much but a great indicator that we are on the right track. Now let's continue on the shell.
As you could read in the Browser we need to create a file called FIRST_INSTALL to continue with the installation.
To create the file we use touch. Simply type
sudo touch FIRST_INSTALLto create the file and then reload your Browser.
If you are greeted with a lot of red and yellow messages then don’t worry. This is just an issue with PHP modules that aren’t installed or PHP configurations that we haven’t set yet.
Let's fix this. We install all the needed modules at once using apt
sudo apt install php-gd php-xml php-zip php-soap php-apcu opensslAfter everything installed, restart the Apache service to make sure the PHP modules get loaded. Reload the page again and usually, you now have only yellow messages left which indicate configuration changes we have to do to make sure that TYPO3 works as expected.
If you still have red messages after reloading the page, check the message which module is missing and try to install it via apt.
You should change the values named in the yellow messages in your php.ini
So you open the PHP configuration via
sudo editor /etc/php/7.2/apache2/php.iniIf you change anything in this file, make sure that the line does not start with a ; otherwise, your changes won't work.
After making the changes that are suggested in the yellow messages we need to first restart the Apache and then reload the page in the Browser again.
sudo service apache2 restartIf you have done everything right your screen should look like this
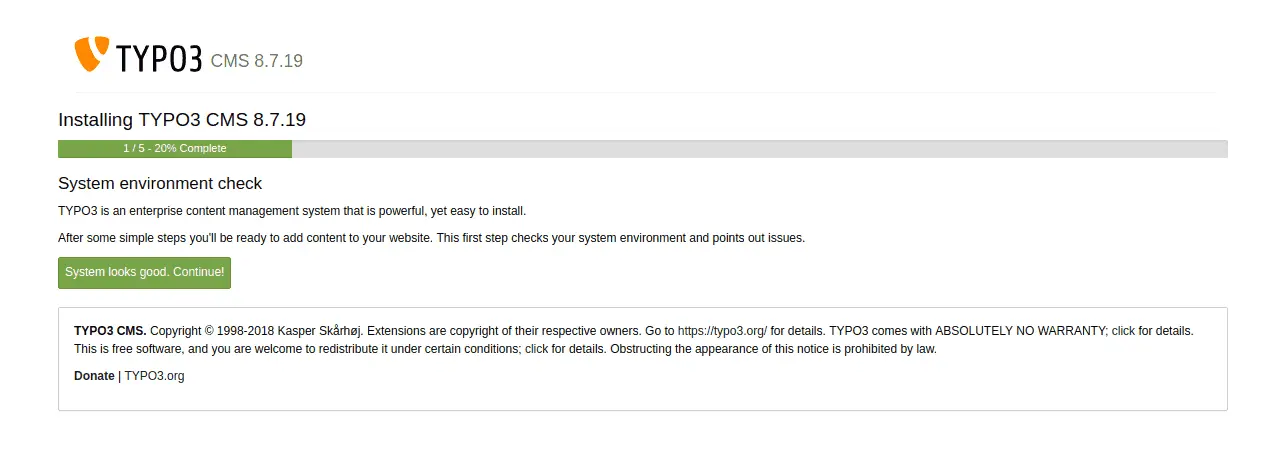
Press the Button “System looks good. Continue!” to proceed.
Configure the MySQL connection
In this screen, you have to provide credentials to connect to your MySQL service. As we currently only have one user(root) for the MySQL service we could use it but it is highly recommended to create a user for each application that needs database access.
So we get a root shell with
sudo -sand connect to the MySQL service with
mysqlnow we put in
create user typo3 identified by ‘Pa$$word123’;Obviously, you should choose a random password on your own as this one matches all needed criteria but is still a bad password. For the sake of this article, we will continue with it anyway.
Also, we create a database and grant permissions for this user. We do this by typing in this commands
create database typo3;
grant all privileges on typo3.* to 'typo3';
To satisfy the TYPO3 requirements we also have to change the character set of our database to utf8. We do this by entering
alter database typo3 character set utf8 collate utf8_general_ci;If you put this credentials now in the fields in you Browser you can proceed and get asked if you’d like to create a new database or use an existing one. We want to use the existing one that we just created.
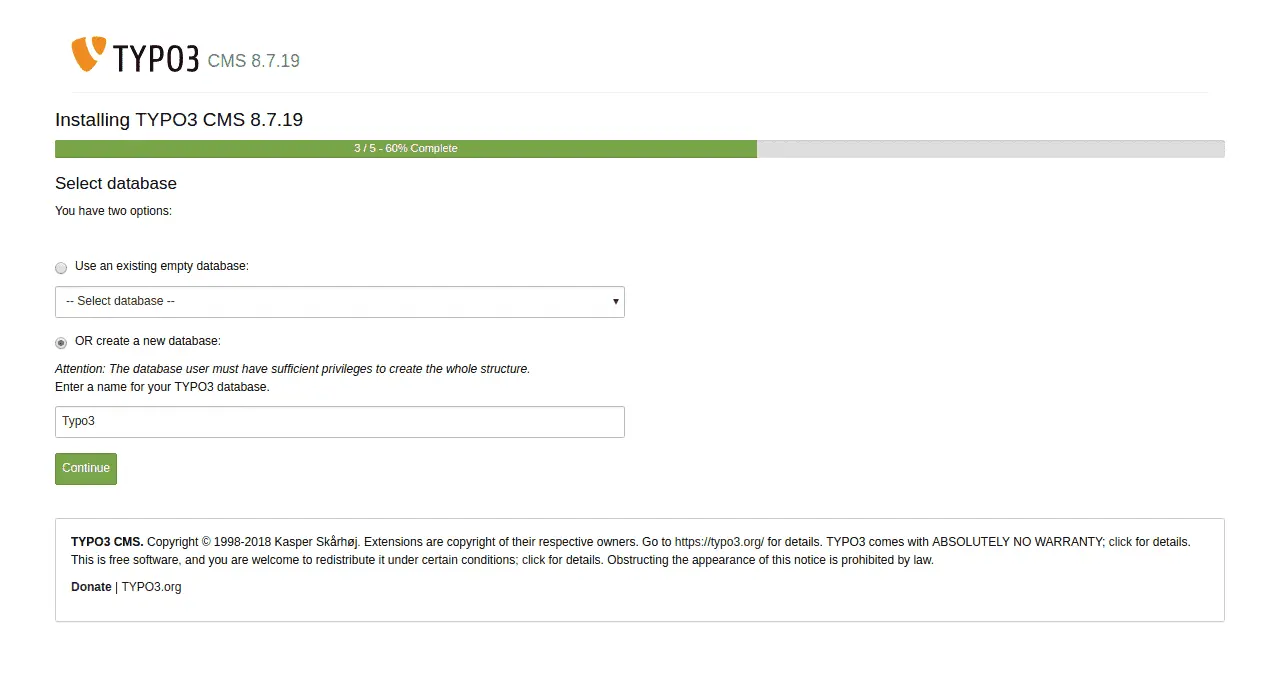
Creating a user
Now we have to create a backend admin for our new site. Choose a username and put in a password. Here you can also give your site a nice name.
Make sure that your chosen password is different from any other password and meets the needed complexity. The complexity is indicated by the input field background. If it is green, your password is good enough.

The last step
Now we are at the last step of the Installation Wizard. Here you can choose if you want a pre-configured site or just a base empty page.
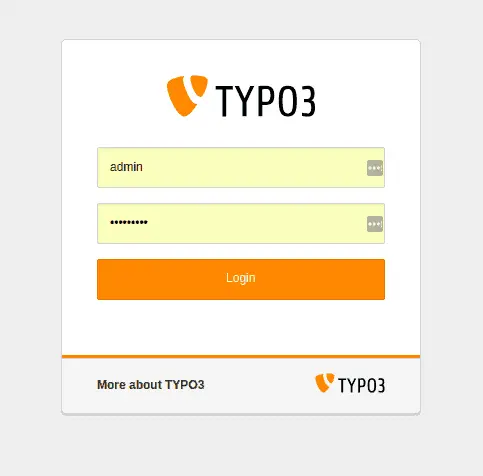
This step is totally up to you and your needs and experience with TYPO3. If you are totally new to TYPO3 and just want to take a look around and evaluate possibilities I’d recommend choosing to download a list of distributions. You will be taken to the backend login where you can use your admin user to log in
After your first login, you will be shown a list of pre-configured packages to install and try out.
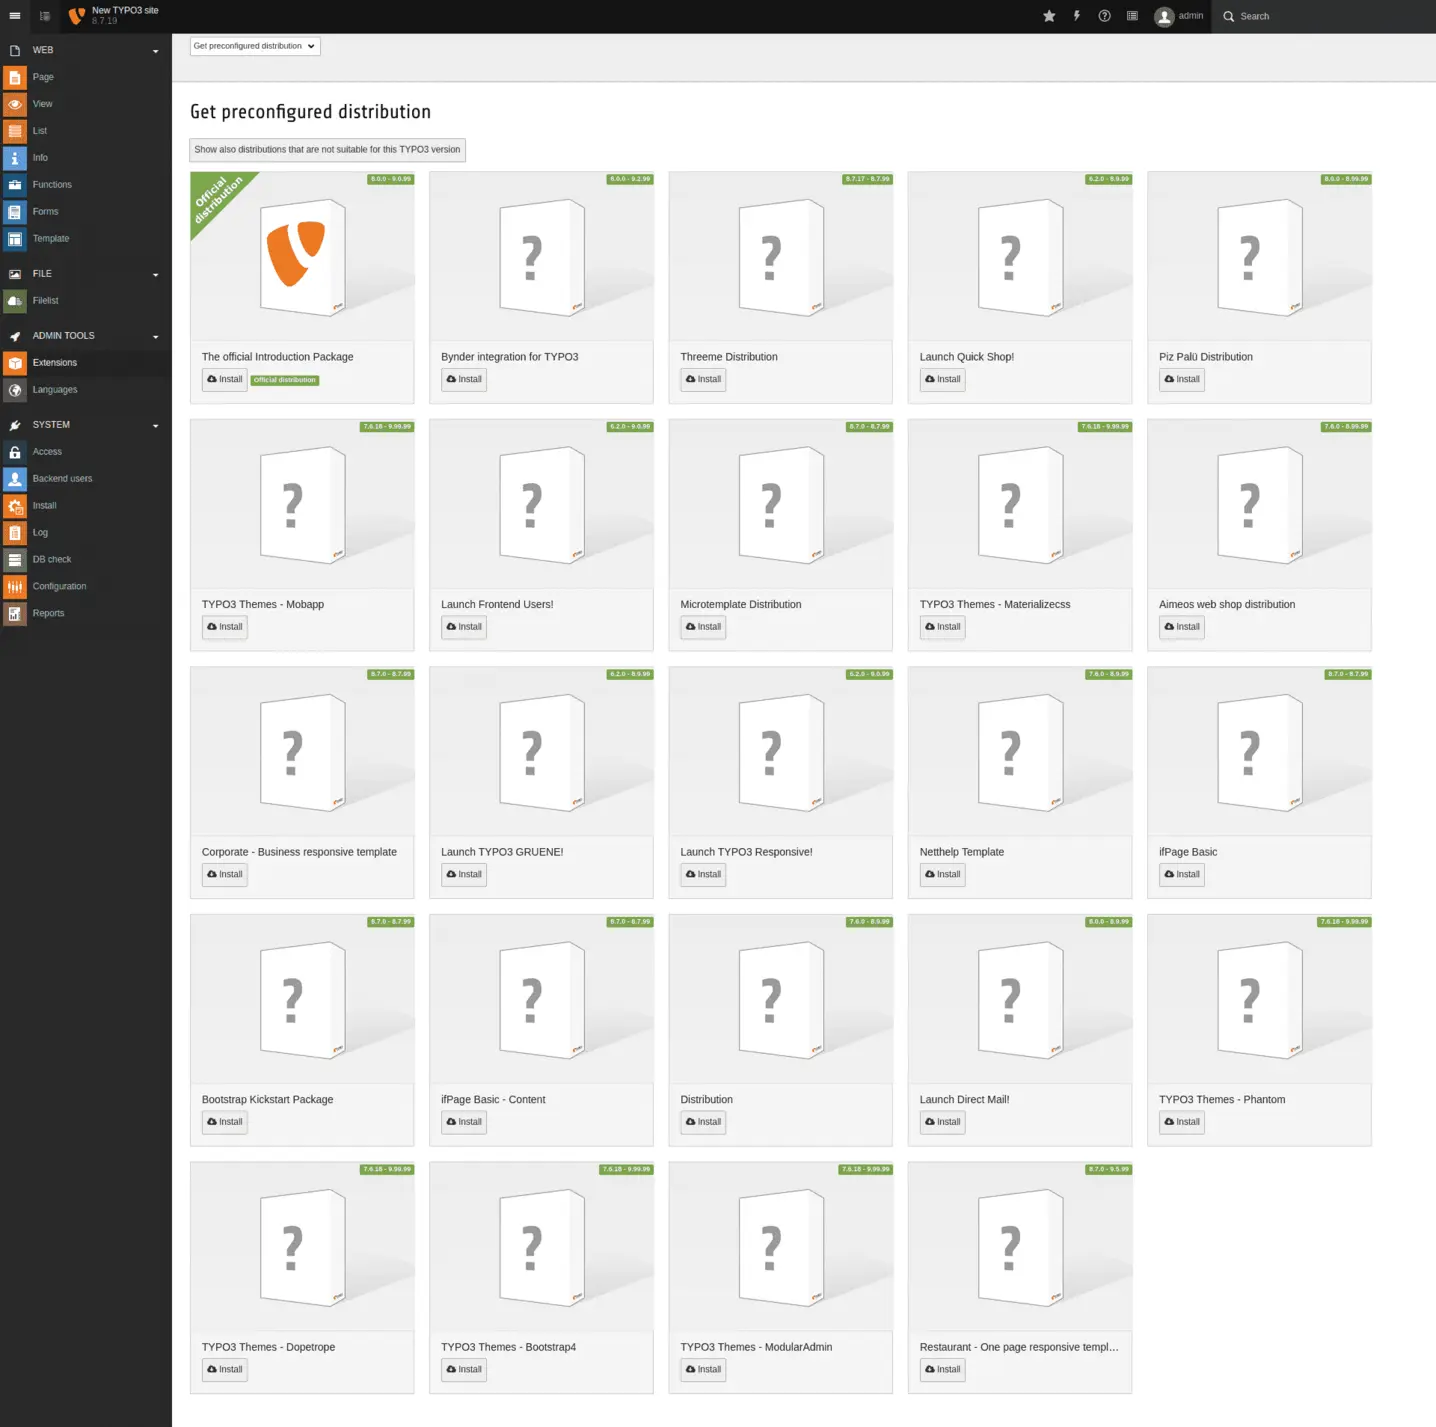
And now we reached a point where this article ends, but now you have a working TYPO3 page up and running on your Web server. Have fun with it and if you have any questions don’t hesitate to leave a comment below.
This article has shown you how to set up the default TYPO3 Distribution. But sometimes thats not exactly what you need. If you need a more feature rich but still flexible project base you could take a look at our own TYPO3 Distribution. Just send us a message if you would like to know more.
Contact us!
We are a digital agency, which is specialized in the development of digital products. Our core topics are websites and portals with TYPO3, eCommerce with Shopware and Android and iOS-Apps. In addition, we deal with many other topics in the field of web development. Feel free to contact us with your concerns!




Comments